Mod:Create a portrait
Revision as of 20:49, 21 September 2022 by Anabellebel (talk | contribs)
This tutorial shows how to create a portrait to add in The Sum.
Required tools[edit | edit source]
Create a portrait[edit | edit source]
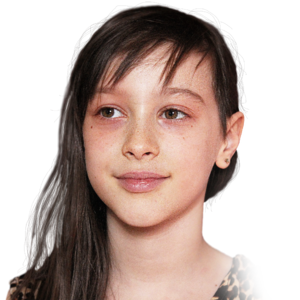
There are two types of portraits: a small one (the most common) and a large one (for the 22 main characters).
Small portrait[edit | edit source]
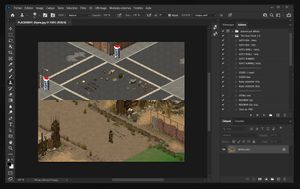
- Open the photo in Photoshop', then immediately save a .psd version of it.
- Go to the Layersmenu and thenNewandLayer from Background.... PressOK
- With the lasso tool (l), cut the outline of the portrait to remove the background.
- Change the tool for cropping' (c), and in the property bar (top), in the boxes to the right ofW/H ratio, type 75 and 100 and make sureDelete cropped pixelsis unchecked
- Crop the image close to the face (note that the proportion is preset).
- Press ctrl+sto save.
- Go to the Imagemenu thenImage size...
- Change the width of the image to 75 pixels (the height should automatically be set to 100 pixels)
- Go to the menu FilethenSave as...then save as .png in Game/core/---BOX---.
Large portrait[edit | edit source]
Follow the previous steps (or start from the file .psd that you have created) and resize the image to 300 x 300 pixels instead of 75 x 100 pixels.
Convert to .zar file[edit | edit source]
- Open the folder Game/ then FT Tools.EXE.
- Click on ⦿ OK.
- Click on ⦿ PNG To ZAR.
- Open the folder and select your portrait to convert.
- Move the .zar file created in the folder ---BOX--- to the folder Game/core/gui/char.
 Although .png files work in The Sum, it is recommended to only use the .zar.


